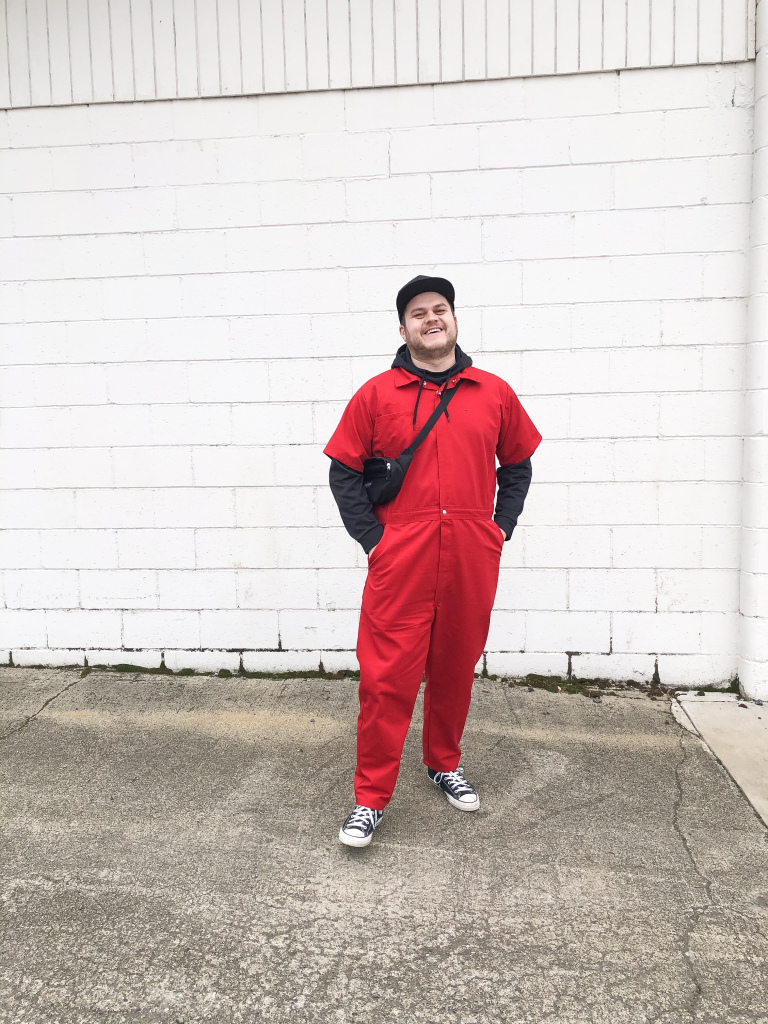
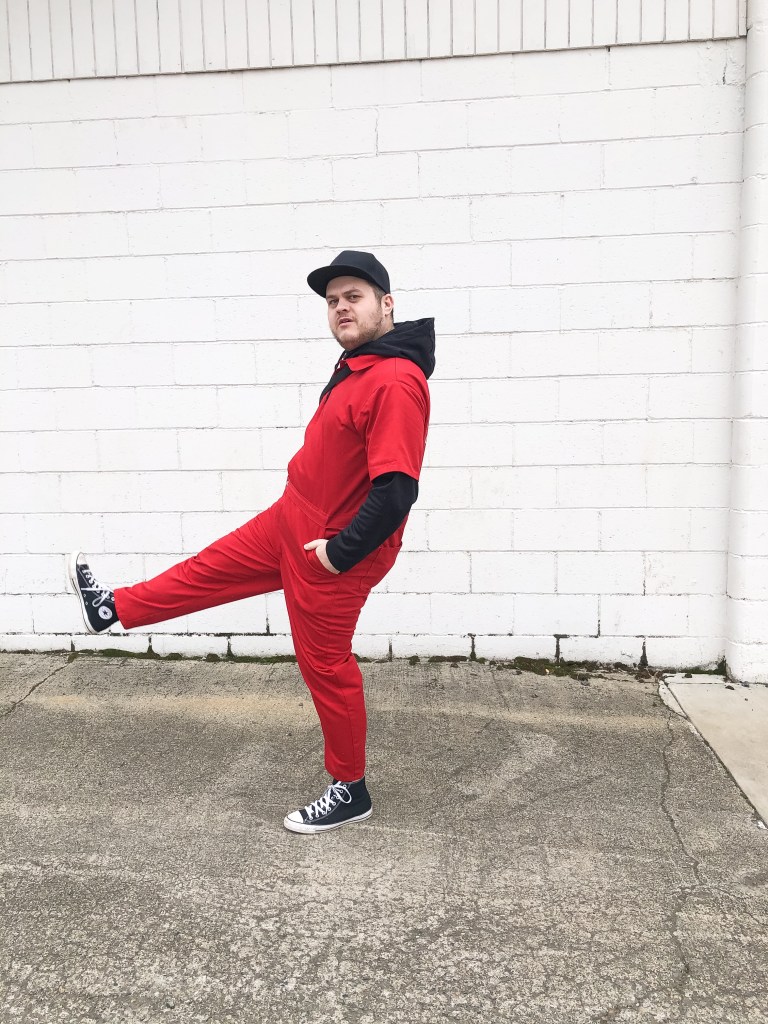
Thrift Flip: Rob’s Red Jumpsuit

Uncategorized

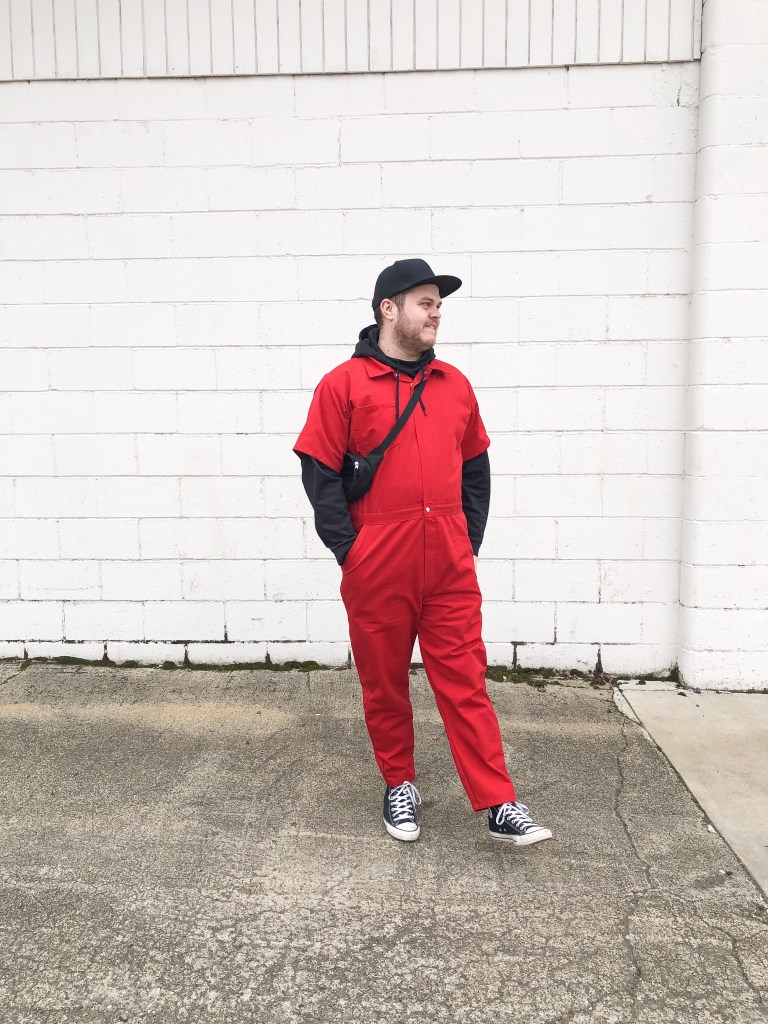
A few months ago, Rob and I were thrifting and he found this red jumpsuit. When he asked me if I’d be willing to alter it, I was a bit hesitant since there was quite a bit of work to be done.

I’m a nice wife and obviously said yes but OOOOF. This jumpsuit was a ton of work.

I had to… take in the legs, remove the waist band to take in the bodice, re-work the pockets and create a new pocket back, reattach the waistband, remove all of the reflective bands, take off the front pocket, take in the back seam, remove and replace back pockets, create a new arm hole, take in the sleeves, hem the sleeves, and finally, hem the pant legs. I think that’s it 😅

I have to say, it didn’t turn out half bad! My boy loves it and I told him he has to wear it once a week until he dies 😂

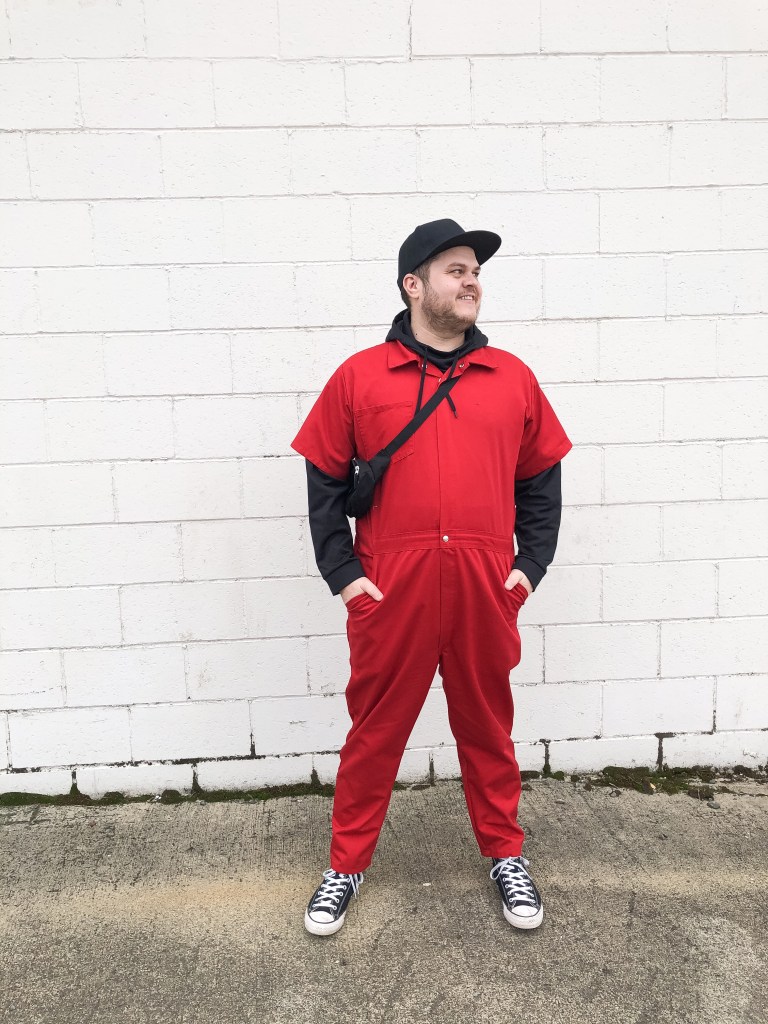
Good thing he’s cute and I love him ❤️

Would you take on this sort of project?!

Vintage Scarf Headband Tutorial

Sewing, thrifting

I have a sliiiiiight obsession with headbands. They’re just the perfect finishing touch to an outfit. I also love vintage scarves and for years I’ve been tying them around my head as a headband. The only problem is that it can be a little bulky. Then one day I was just like, “I only ever wear these scarves as a headband, why don’t I just make them into headbands permanently?!” So I did! Follow along below and I’ll teach you the steps!

The great thing about this craft project is that I had all supplies on hand! So I didn’t spend a dime on making these.

Supplies:

This step is completely optional! I thought theses headbands might need some padding so I cut a strip of batting and added to the inside of the headband. Honestly, I could have done without this step! So skip it if you don’t feel like it’s necessary.

Cut a strip of scarf or fabric that is about 3″ wide and long enough to cover your headband. Once it’s cut, use your hot glue gun and attach the fabric to the headband. Since we’re going to be covering the top of the headband with more fabric, glue your fabric to the top side of your headband. The bottom of your headband should look smooth.

With the remainder of your fabric, fold it into a hot dog shape. You may need to fold it in a couple times to get your desired width (I definitely could have cut away some of this fabric. It’s up to you how thick you want your headband to be!).

Once you have your desired thickness, tie your fabric into a knot but leave the knot a little loose. Make sure your knot it centered and pull the headband through the loose knot.

Once you’ve found the middle of your headband, pull the ends of the knot to tighten it. Once tighten, glue each side of the headband down.

Trim off excess fabric but leave an inch or two at the bottom. You will then fold your sides in to create a taper.

I like to fold the back side piece in first and then glue it place. Repeat with the front piece and place it on top of your back side piece. Glue in place. Trim any excess fabric and finish your headband with some sort of trim. I had some bias tape on hand so I used that (I’ve also just used excess fabric as well!). Glue your trim around the end and fold in your edge to prevent fraying. Once your trim is on, you’ll have an opening at the bottom. Place glue inside the opening and press your trim together to close.

YAY! YOU ARE DONE! Plop that baby on your head!

I made a couple and plan on making more! Which one is your favorite?! PLEASE tag me if you end up making one! I would love to see it 🙂

Summer Set

Sewing

This is one of those times where I should have ironed a little better before taking pictures (insert face palm). Ooh well!

I’m not a summer girl. I’m a 60 degrees year round kind of gal. Shorts are not my favorite and you’ll never catch me in a pair of flip flops EVER. If I could live somewhere that was fall year round, I would in a heartbeat!

Luckily in the PNW, summers are pretty mild. We’ll have 2-3 months of heat and then it’s back to my preferred gloomy weather.

With that being said, I have been on the look out for some summer clothes. But I could not find anything that I liked. I ordered a couple shorts from target and they were all too big so I returned them and ordered the next size down and those didn’t work out either. Shopping can be such a headache sometimes.

I decided to make a couple outfits for this summer after failing to find anything off the hanger. I thrifted this purple polka dot fabric a few years ago and it felt perfect for a summer set! I think I paid around $6 for all of the fabric and there was at least 7 yards.

I used McCall’s 6801 for the shorts pattern with a lot of alterations. This pattern does not have side seams and I wanted to add pockets so I ended up adding seam allowance to the sides and cutting the pattern in half so it had a front and back piece. I used a 2″ elastic waistband and shortened short length as well by an inch or two.

The top is just a self drafted bodice. The sleeves are Simplicity 5582 and I LOVE this pattern. It makes the perfect puff’d sleeve. I’ve used this pattern about 5 times now and I won’t stop! That’s how great it is.

This little set is basically wearing pajamas out and I’m totally okay with that 😉