My Grandma gave me this black and white plaid fabric and I just love it so much! I will probably hoard this top forever since it reminds me of my Grandma every time I wear it. She’s a seamstress as well and it’s fun that we share a love for sewing!
I self drafted the bodice and used Simplicity Pattern 5582 for the sleeves (OF COURSE lol)! Instead of a sleeve band, I went for a 1/4″ elastic instead. I love the little puff it creates!
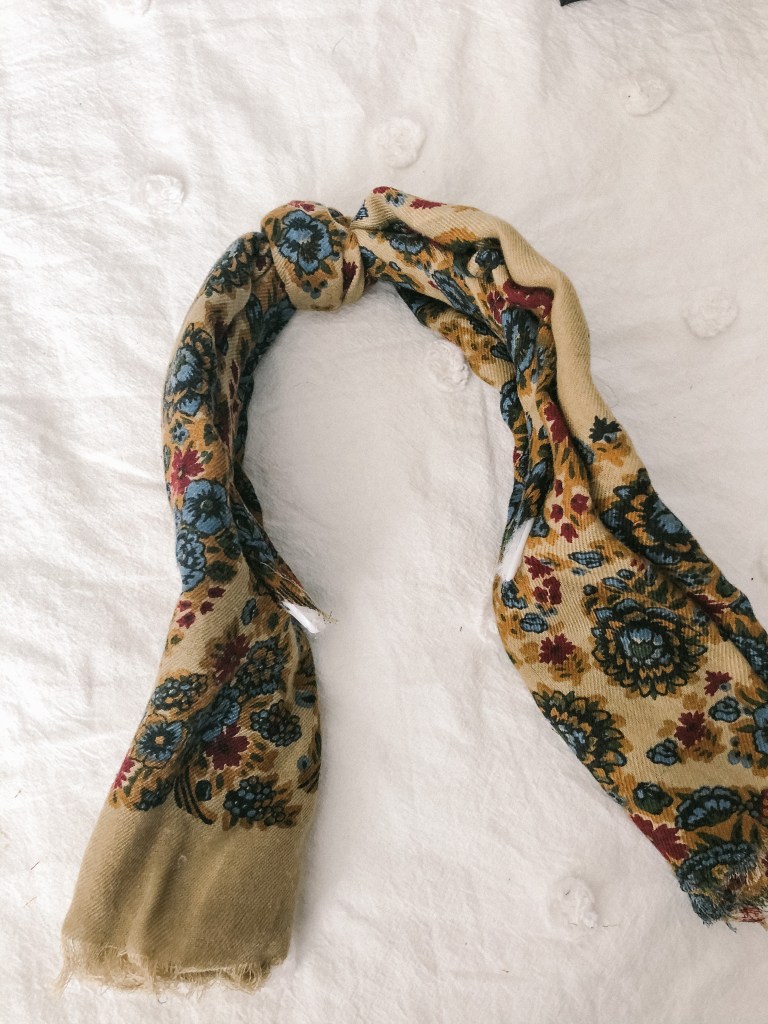
I have a sliiiiiight obsession with headbands. They’re just the perfect finishing touch to an outfit. I also love vintage scarves and for years I’ve been tying them around my head as a headband. The only problem is that it can be a little bulky. Then one day I was just like, “I only ever wear these scarves as a headband, why don’t I just make them into headbands permanently?!” So I did! Follow along below and I’ll teach you the steps!
The great thing about this craft project is that I had all supplies on hand! So I didn’t spend a dime on making these.
Supplies:
Vintage scarf (mine are thrifted!) or any fabric you’d like to use!
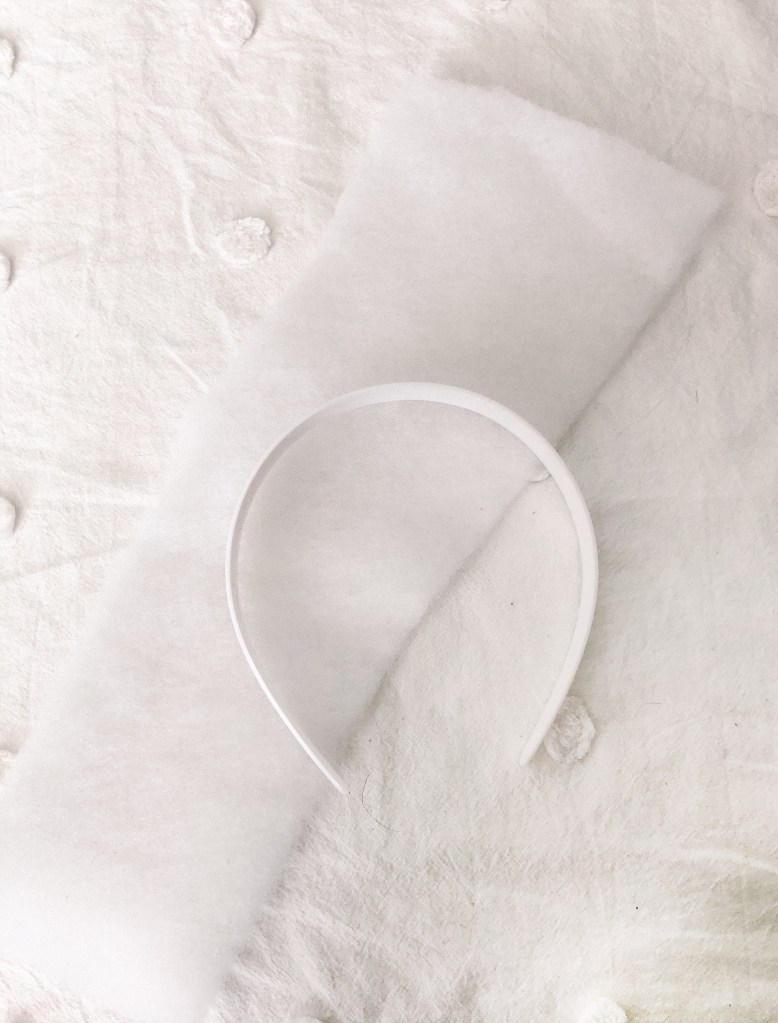
This step is completely optional! I thought theses headbands might need some padding so I cut a strip of batting and added to the inside of the headband. Honestly, I could have done without this step! So skip it if you don’t feel like it’s necessary.
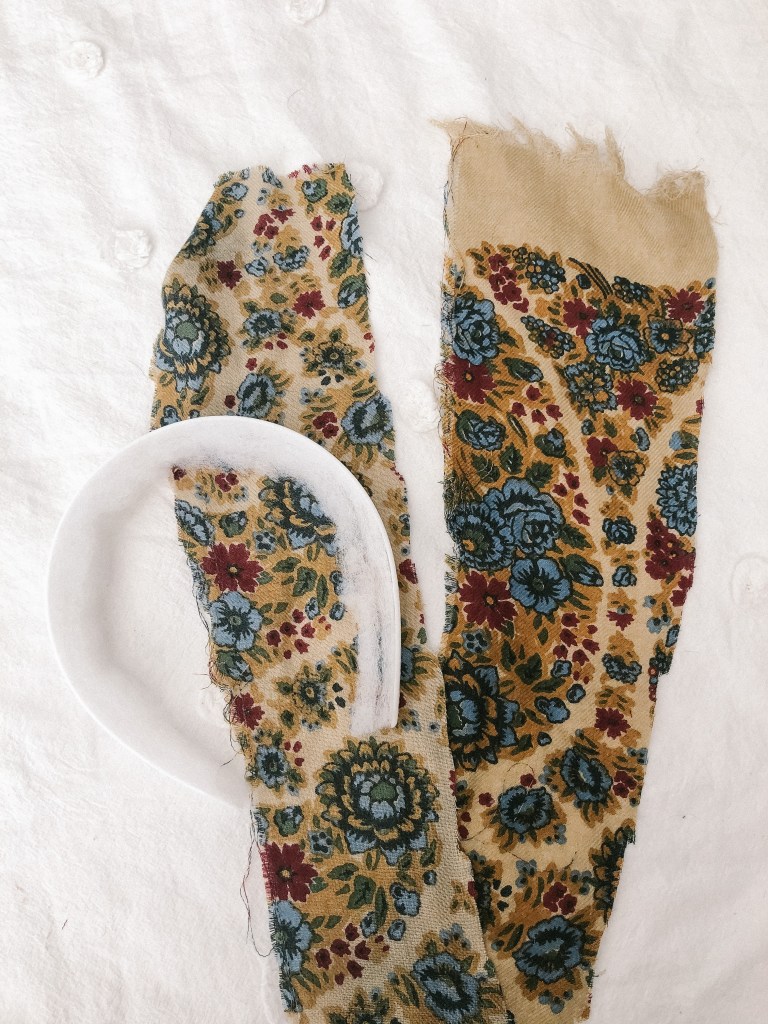
Cut a strip of scarf or fabric that is about 3″ wide and long enough to cover your headband. Once it’s cut, use your hot glue gun and attach the fabric to the headband. Since we’re going to be covering the top of the headband with more fabric, glue your fabric to the top side of your headband. The bottom of your headband should look smooth.
With the remainder of your fabric, fold it into a hot dog shape. You may need to fold it in a couple times to get your desired width (I definitely could have cut away some of this fabric. It’s up to you how thick you want your headband to be!).
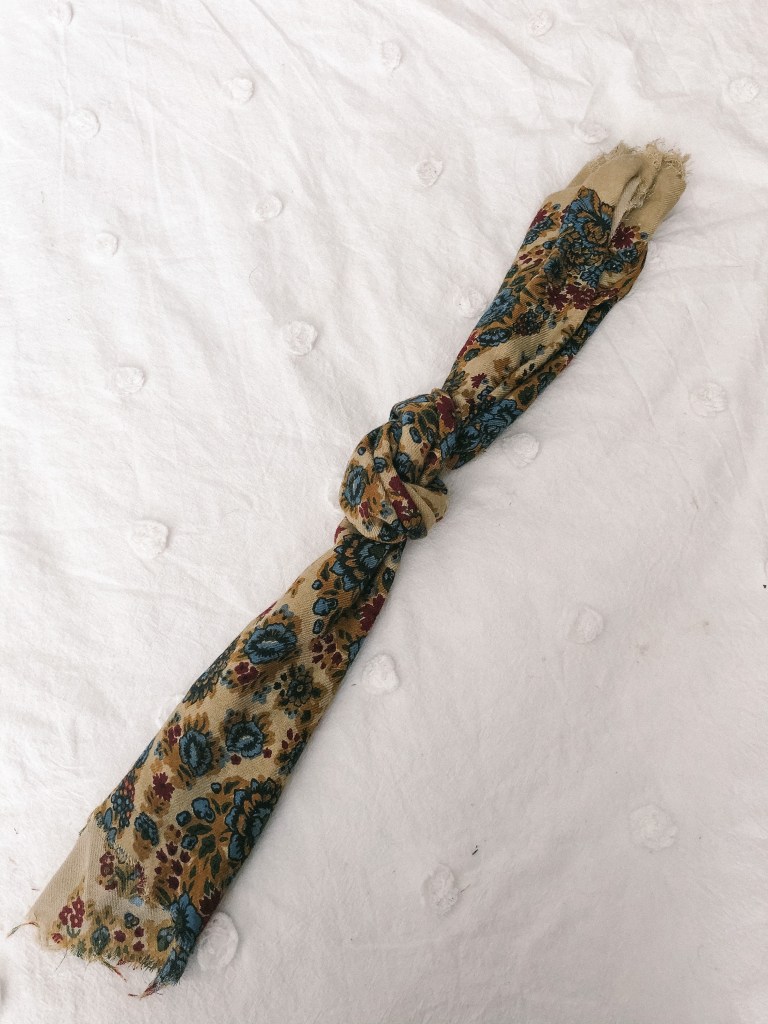
Once you have your desired thickness, tie your fabric into a knot but leave the knot a little loose. Make sure your knot it centered and pull the headband through the loose knot.
Once you’ve found the middle of your headband, pull the ends of the knot to tighten it. Once tighten, glue each side of the headband down.
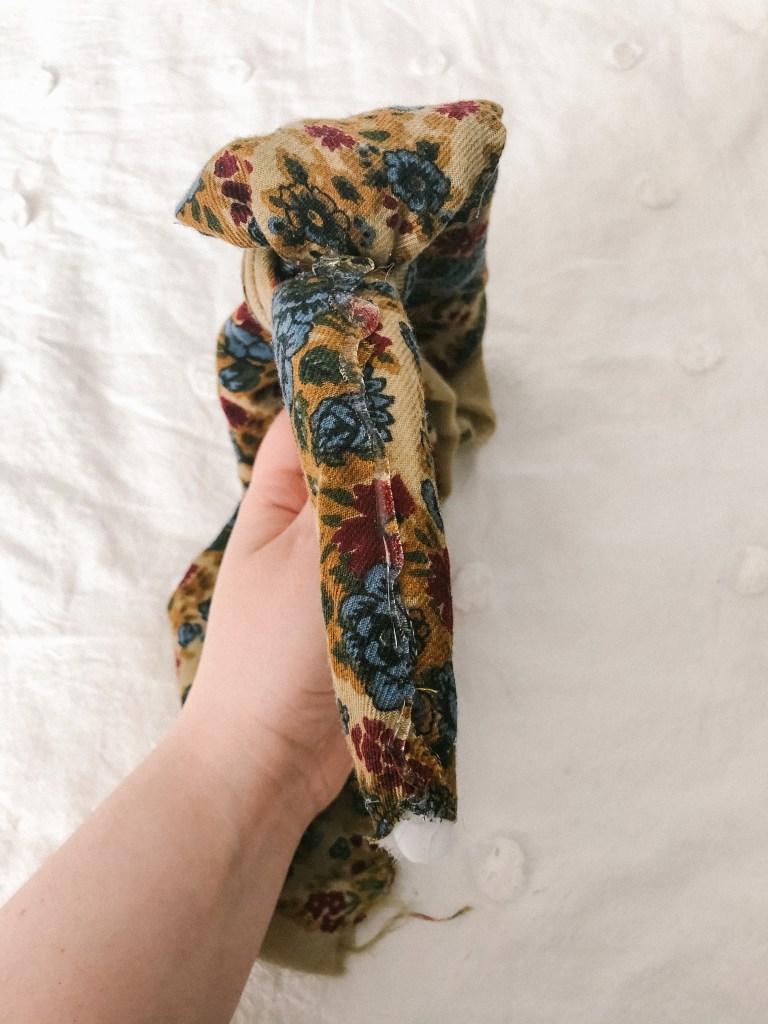
Trim off excess fabric but leave an inch or two at the bottom. You will then fold your sides in to create a taper.
I like to fold the back side piece in first and then glue it place. Repeat with the front piece and place it on top of your back side piece. Glue in place. Trim any excess fabric and finish your headband with some sort of trim. I had some bias tape on hand so I used that (I’ve also just used excess fabric as well!). Glue your trim around the end and fold in your edge to prevent fraying. Once your trim is on, you’ll have an opening at the bottom. Place glue inside the opening and press your trim together to close.
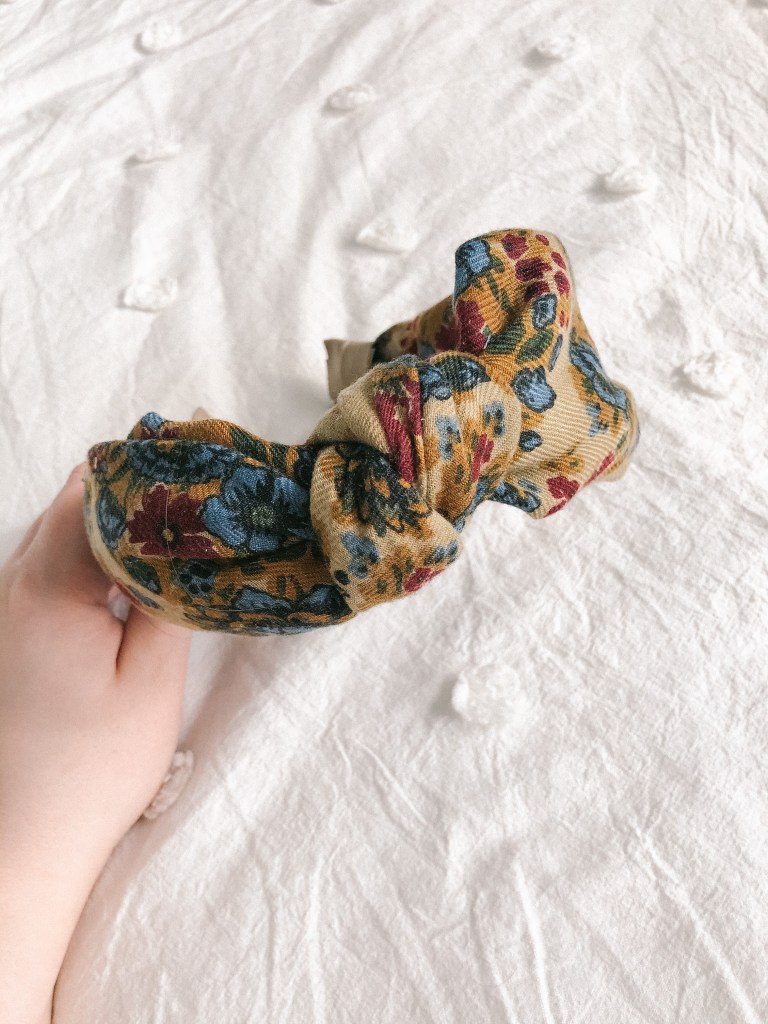
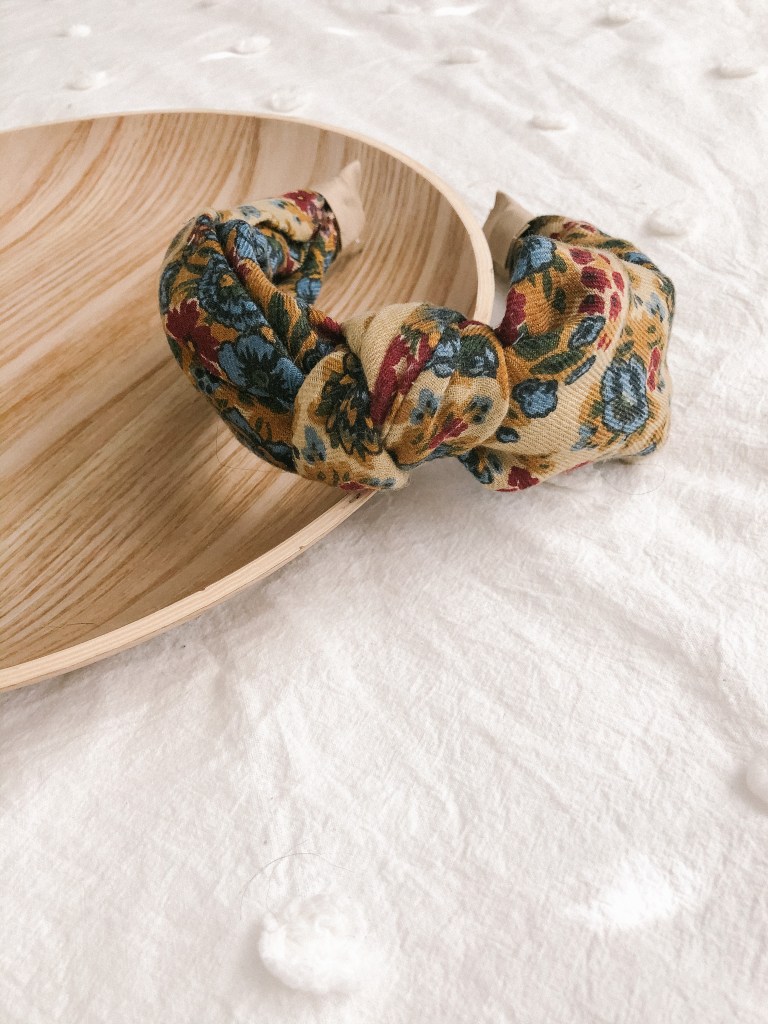
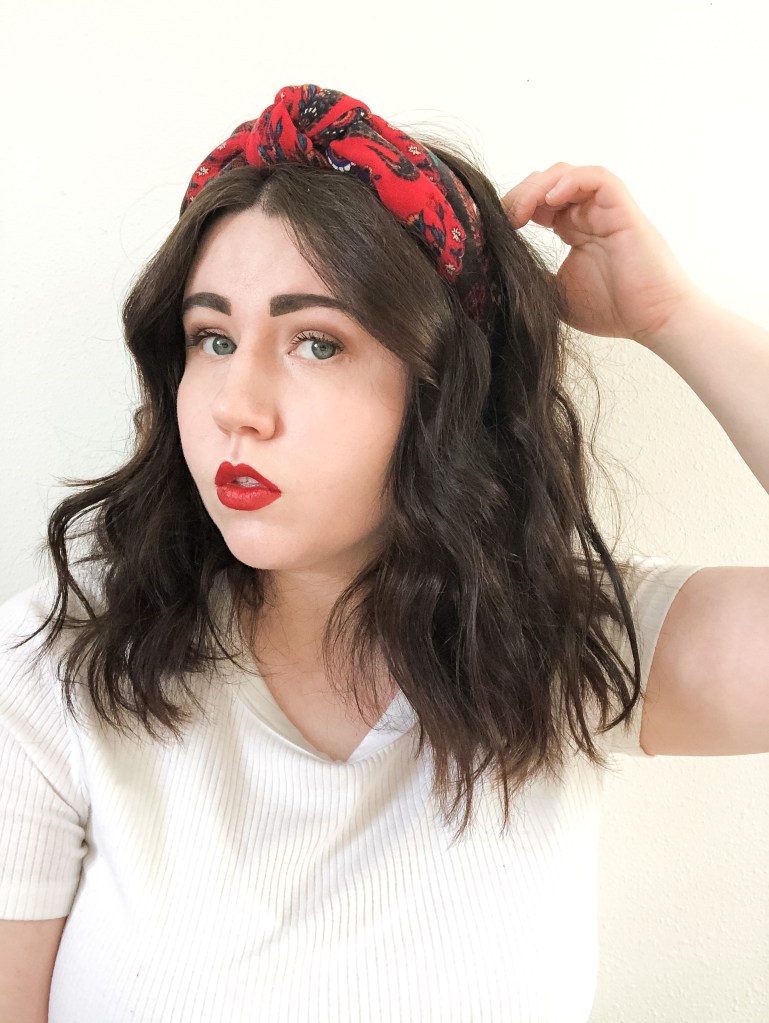
YAY! YOU ARE DONE! Plop that baby on your head!
I made a couple and plan on making more! Which one is your favorite?! PLEASE tag me if you end up making one! I would love to see it 🙂
While I was making this top, I watched the 2019 version of “Little Women” A LOT. I absolutely love it and have come to terms with the fact that I’m definitely an Amy. I’m creative, the youngest in my family, spunky, slightly selfish (lol), and determined. As much as I want to be any other March sister, Amy just fits.
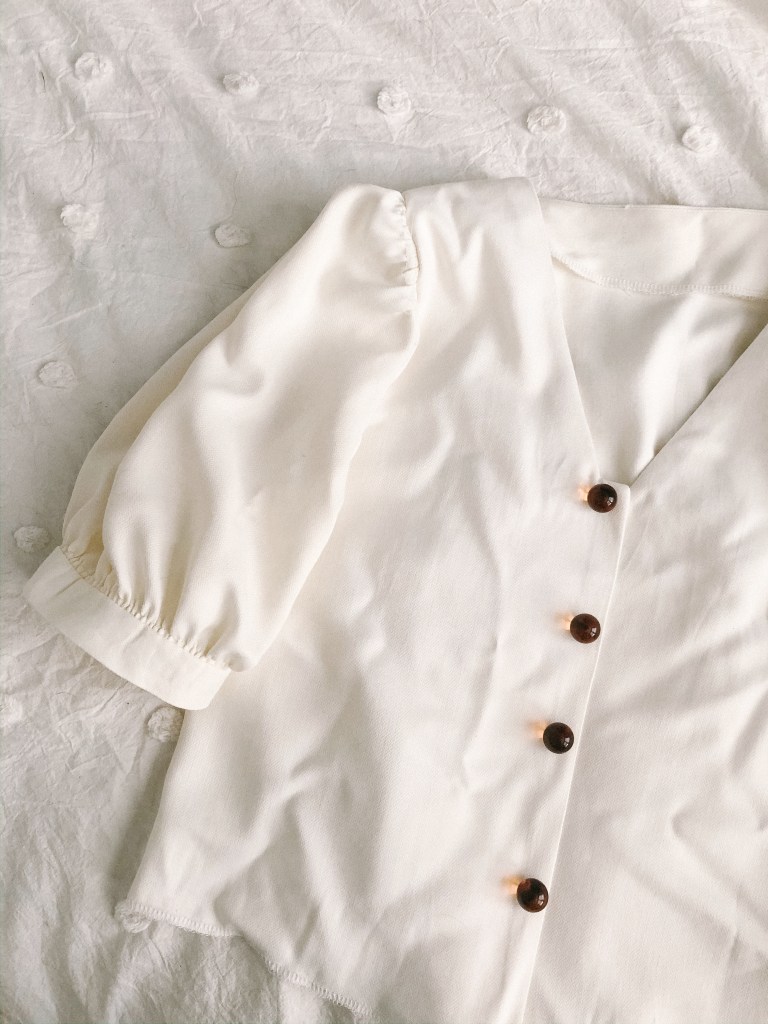
I used Simplicity Pattern 5582 with some alterations. This is a dress pattern, so I only used the bodice pattern but added about 2 inches to the length. Skipped the collar as well and just went for a simply v-neck to match my inspiration photo. I should have made the neckline a little lower and I put the first button hole too high… but lessons for next time!
I couldn’t decide on a buttons, so I went to Instagram for help! The flat shiny buttons won by a landslide. The ball like buttons on the right are so fun! But I just didn’t know how well they would function. Both buttons are from my Great-Grandma’s stash. I have a huge cookie jar full of all of her buttons. Women in my family have been sewing for generations and it makes me so happy to be apart of that legacy.
The sad thing is that I washed this top recently and it SHRUNK LIKE CRAZY 😦
I loved this top so much so I’ll just have to make it again! But maybe in a different fabric.